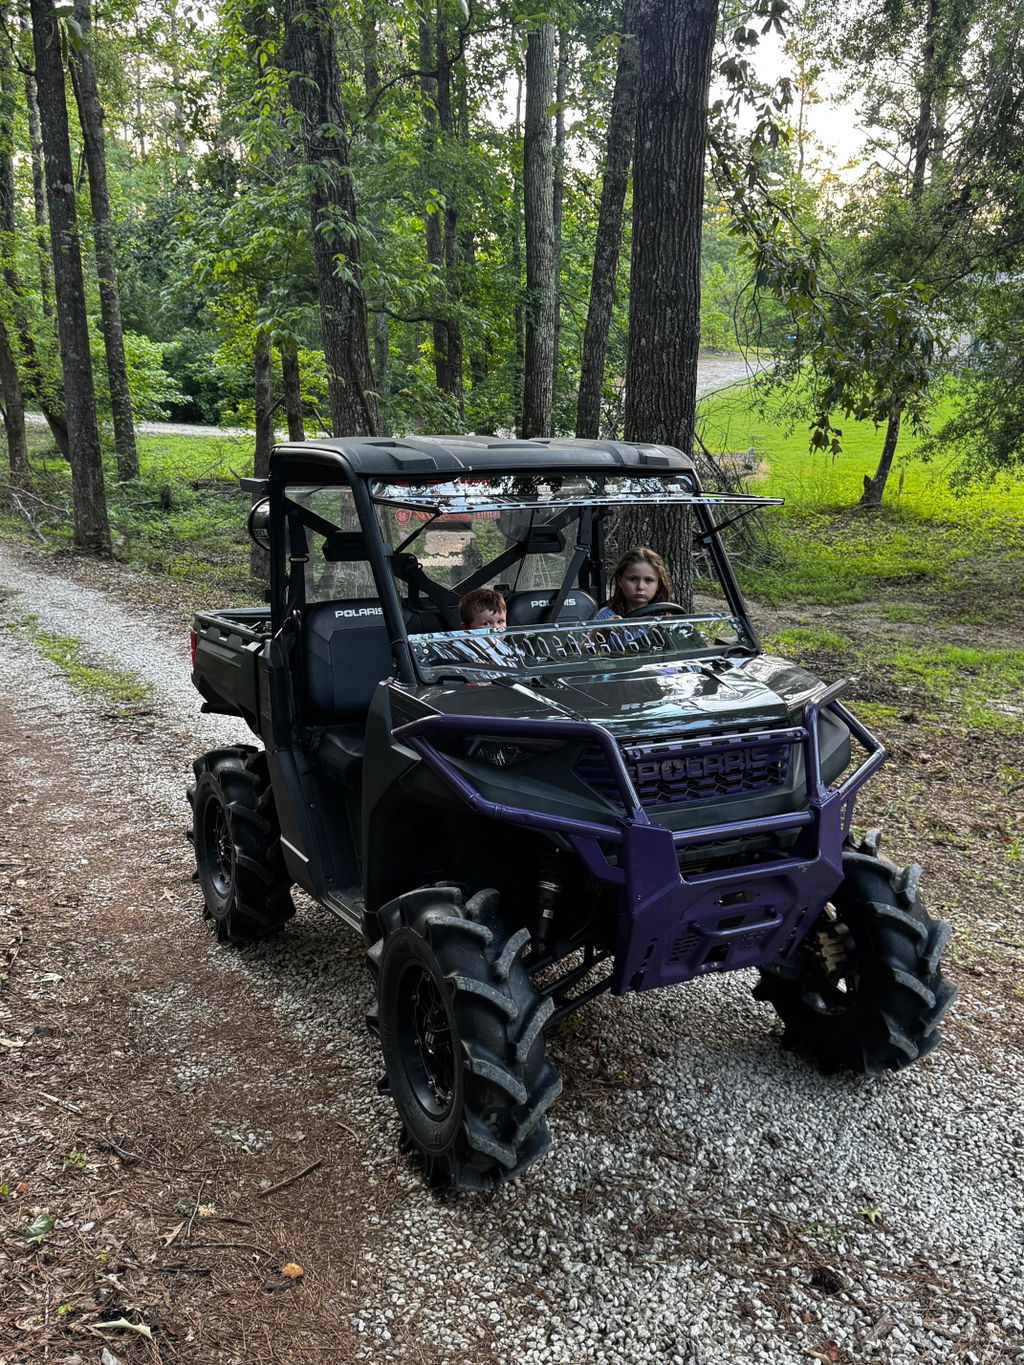
Choose how much air reaches the cab as the day changes. Flip up the upper panel for a larger opening, slide the lower window for a smaller opening, or close both for more front coverage against wind, spray, and loose trail debris.

When a Ranger 1000 workday starts cool and warms up, you can change the airflow without removing the windshield. The upper panel creates a larger opening. The lower sliding window lets you bring in some air while the upper panel stays closed.
Two hydraulic support rods help hold the upper panel in the raised position.
Slide the window to uncover the lower vent slots for a smaller opening. Close the slider when you want more front coverage.
Gravel, mud, and spray can come up from the front tires. The clear polycarbonate panels help deflect that debris while keeping the route ahead visible through the windshield.
Leave the upper panel closed when you want a barrier between the cab and the road ahead.
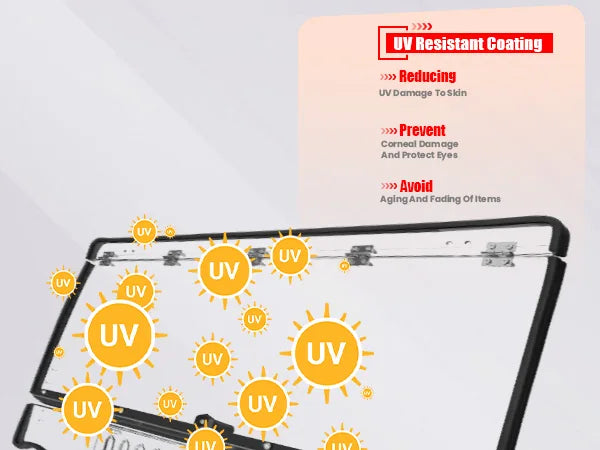
The coated surface is designed for regular outdoor use on work routes and rides in the sun.
On an exposed trail or a cold morning run, lower the upper panel for more coverage. Close the sliding window as well when you want to cut direct airflow through the lower opening.
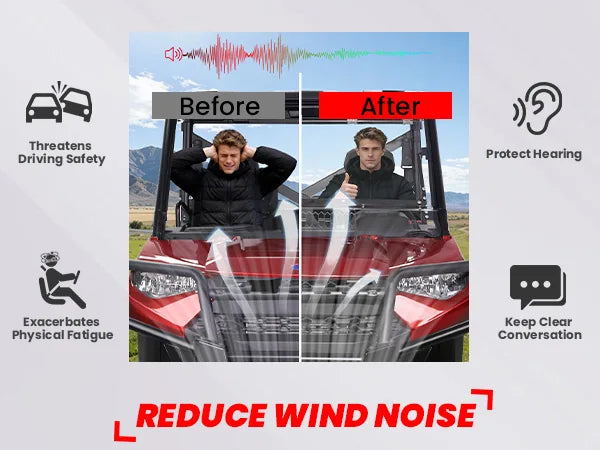
The perimeter weather strip helps the windshield sit close to the cage and reduces the gaps that can let in drafts and wind noise.
Keep the main panel down and open the lower window when you want some ventilation again.
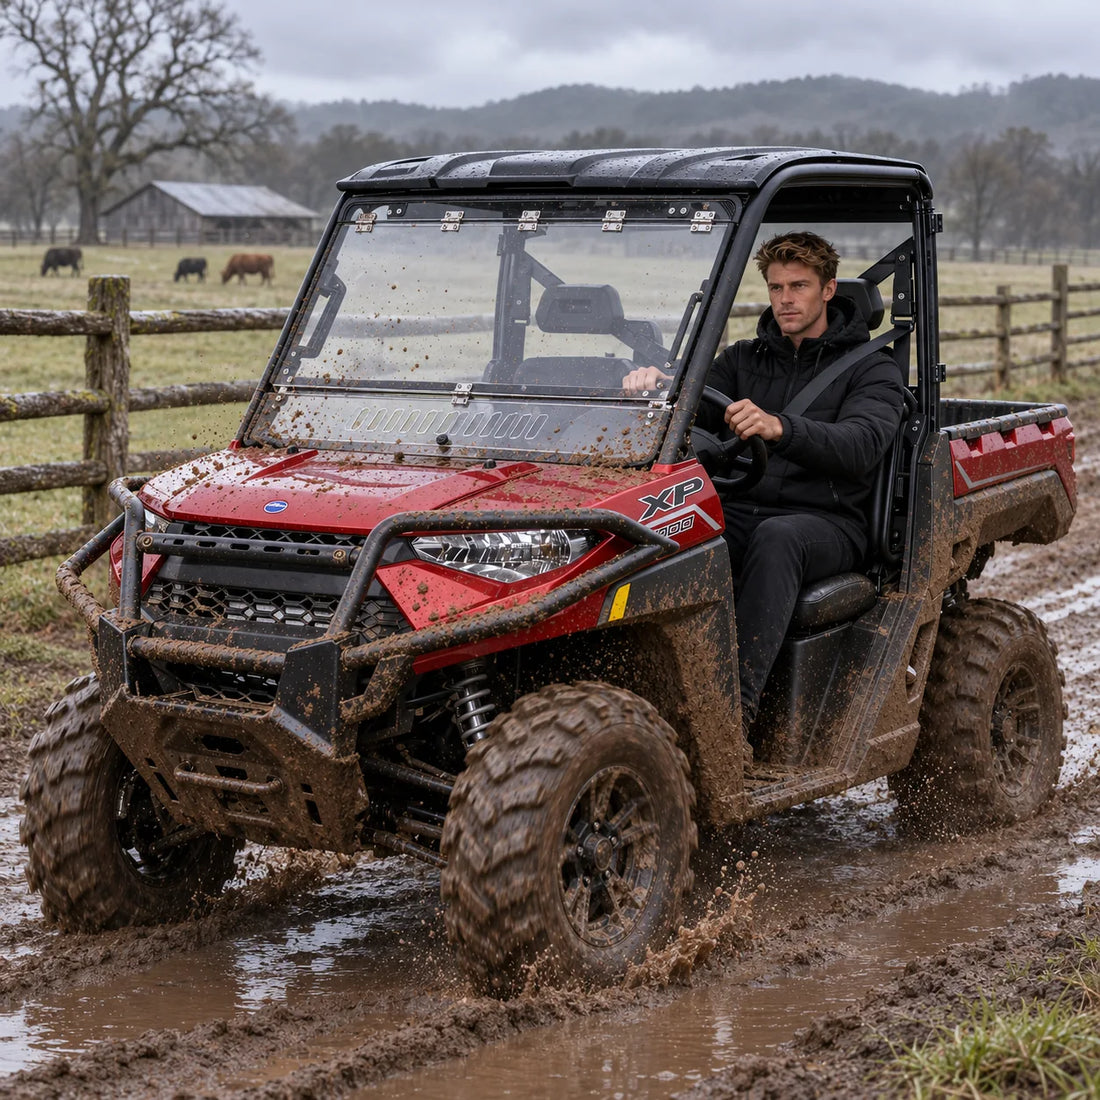
Start with the upper panel down and the slider closed on a chilly feed or fence run. The windshield helps limit direct drafts through the front opening.
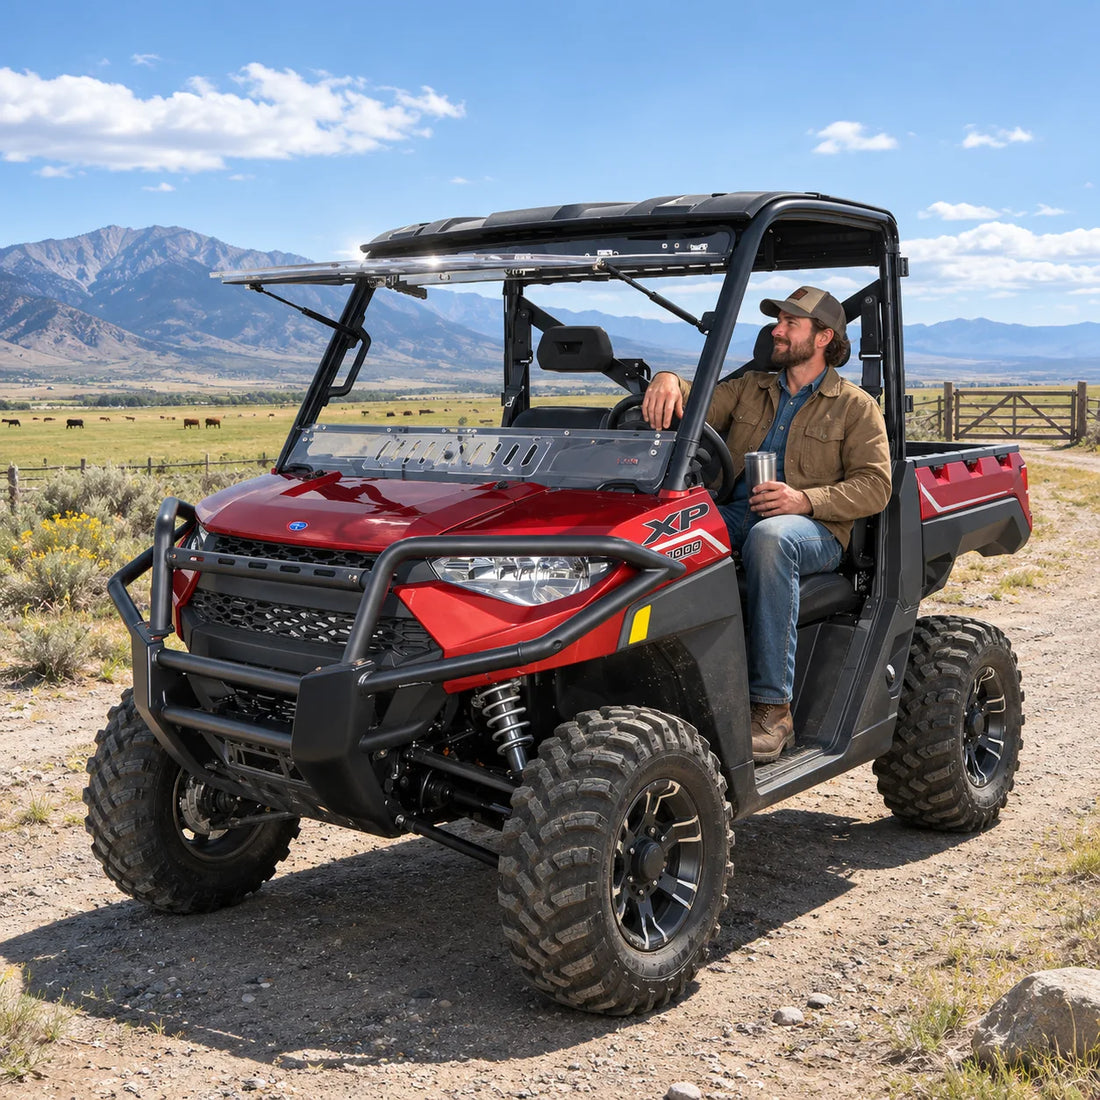
When you want airflow through the cab, open the lower sliding window and leave the upper panel down. The main panel stays in place in front of loose dirt or trail spray.

Use the raised upper panel when you need a larger opening during a warm day around the property. Lower the panel when conditions call for more front coverage.
Vehicle compatibility
Check your Ranger model and year below. The windshield installs with the factory passenger grab bar in place.
Compatible vehicles
| Make | Model | Year |
|---|---|---|
| Polaris | Ranger 1000 | 2020–2026 |
| Polaris | Ranger Crew 1000 | 2020–2026 |
| Polaris | Ranger XP 1000 | 2017–2026 |
| Polaris | Ranger Crew XP 1000 | 2017–2026 |
| Polaris | Ranger Diesel | 2015–2023 |
No matching vehicles found.
Product details
| Material | Clear polycarbonate |
|---|---|
| Coating | UV-resistant coating |
| Upper Panel | Hinged flip-up panel with two hydraulic support rods |
| Lower Panel | Sliding ventilation window with adjustment knob |
| Edge Seal | Perimeter weather strip |
| Grab Bar Clearance | Fits with the factory passenger grab bar in place |
| Included Tools | Hex wrench and 10 mm and 12 mm open-end wrenches |
Common questions
Yes. Use the knob to slide the lower window open while the upper panel stays down. Raise the upper panel when you want a larger opening.
The windshield is designed to fit with the factory passenger grab bar in place. The manual shows how to position the C-shaped brackets with the supplied rulers.
No. We're strategically placed the slidng vents at the bottom and gas struts at the sides. This ensures an unobstruted line of sight, giving you a clear view of the trail whether the windshield is open or closed.
Rinse off dirt with clean water first, then gently wipe with a damp microfiber cloth. Follow the manual and avoid glass cleaner, other chemical cleaners, and paper towels.
How to install
These four cards summarize the ABG521 installation manual. Use its diagrams and the installation video to identify the brackets, fasteners, and mounting points.
The manual estimates about 30 minutes and recommends two people. Keep the protective film on during assembly and avoid overtightening the hardware.
If the closing handle will not engage, check that the lower L-shaped brackets sit flush against the roll cage. Follow the manual and video for further adjustment.
Install the Z-shaped brackets at the top of the cage. Use the supplied 31 cm rulers to position the C-shaped brackets on the side posts, as shown in the manual.
Fasten the upper windshield to the Z-shaped brackets. Attach the two hydraulic support rods between the C-shaped brackets and the upper panel using the parts shown in the diagrams.
Fit the L-shaped brackets inside the cage as shown. Attach the lower windshield with the specified fasteners and gaskets, then check that the sliding vent moves freely.
Check that the closing handle engages and that the lower window opens and closes with its knob. Once the fit is checked, remove the protective film from both sides. The film may be clear.
Hassle-free warranty