

UTV Camping Checklist
There’s a specific kind of freedom that only a UTV (Side-by-Side) can provide. It’s that sweet spot between the raw exposure of a dirt bike and the heavy-duty utility of an overland truck. With a UTV, you can reach those 'honey hole' campsites that are too narrow for a Jeep and too far for a hike. But reaching those remote spots starts with the right UTV camping setup.
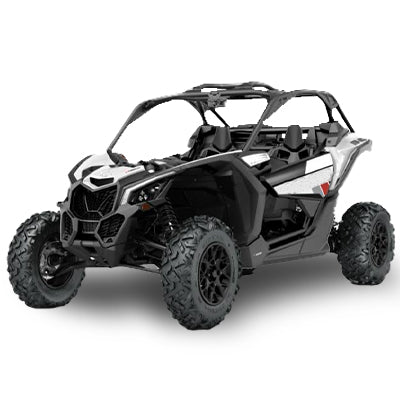
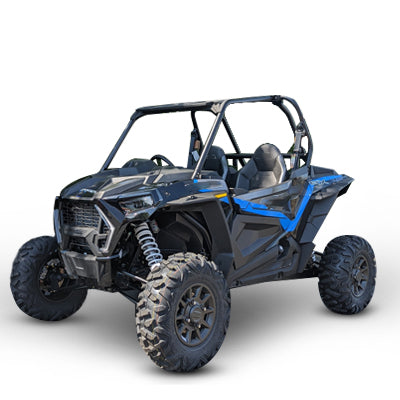
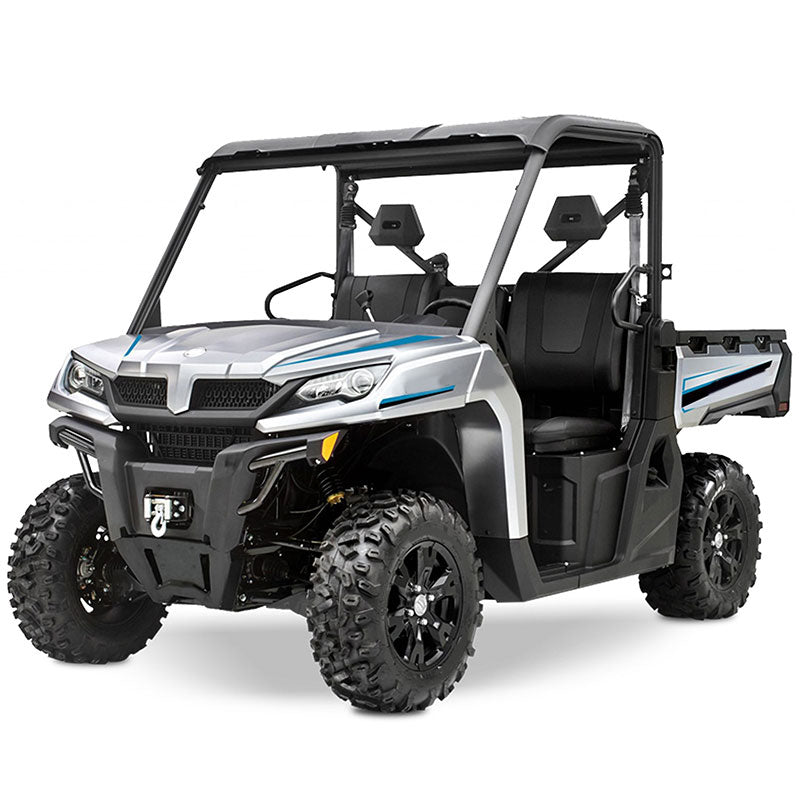
But here’s the reality check: The wilderness is unforgiving. Nothing ruins a trip faster than realizing you’re fifty miles into the backcountry and you forgot your recovery gear, or your sleeping bag is soaked because your bed wasn't dust-proof. To help you avoid a trail disaster, we’ve put together the definitive UTV Camping Checklist. Whether you’re piloting a Polaris Ranger, a Can-Am Maverick, or a CFMOTO ZForce, this guide will ensure your rig is bulletproof and your camp is comfortable

Phase 1: Armor and Visibility—The "Shell" of Your Rig
Before you think about tents or stoves, you must address the vehicle's integrity. A camping-loaded UTV carries hundreds of pounds of extra weight, which changes how it handles terrain and reacts to debris.
The Science of Windshield Protection
One of the most underestimated aspects of a multi-day trip is "cab fatigue." Constant wind in your face, swirling dust, and the occasional "trail slap" from low-hanging branches can wear a driver down by midday. A StarknightMT hard-coated windshield is your primary defense.
Unlike standard acrylic windshields that scratch the first time they meet a pine branch, hard-coated polycarbonate maintains crystal-clear visibility. Why does this matter for camping? Because as the sun sets and you’re still miles from your site, a scratched-up windshield creates a dangerous glare from the sunset or your own LED lights. Choosing between a full windshield for maximum weather protection or a StarknightMT half-windshield for airflow is a crucial decision based on your environment.
Cab Enclosures and Climate Control
If you are headed into the high desert or mountain peaks, remember that temperatures can drop 30 degrees the moment the sun dips. A StarknightMT soft cab enclosure transforms your open-air cockpit into a weather-sealed sanctuary. By sealing out the wind, you’re not just staying warm; you’re keeping your interior electronics and "quick-access" gear dry and dust-free.
Phase 2: Mastering the Cargo Bed Bedlam—Storage Dynamics
The biggest challenge of UTV camping is the limited real estate. You don’t have a 6-foot truck bed; you have a compact cargo area that must house fuel, water, food, and shelter. The key here is Center of Gravity (CoG).
Weight Distribution 101
A common mistake many beginners make is stacking heavy gear high. This makes the UTV "top-heavy" and prone to tipping in off-camber sections. Your checklist must prioritize placing heavy items—like water jugs, spare tires, and tool kits—at the bottom of the bed and centered between the wheels.
The "Dust Boil" Solution
Have you ever noticed how the back of your UTV is always covered in more dust than the front? This is called a "dust boil," where the aerodynamics of the vehicle suck trail silt back into the cargo bed. If you toss your sleeping bag directly into the bed, you’ll be sleeping in a sandpit.
This brings us to the crucial point of Sealed Storage. Utilizing StarknightMT waterproof cargo boxes or rear bed enclosures is non-negotiable. These units create a pressurized-style seal that keeps fine silt away from your expensive camping gear. For smaller, high-frequency items like your headlamp, multi-tool, or trail snacks, StarknightMT door bags and overhead storage pouches utilize the "dead space" of the frame, keeping your cabin organized and your floorboards clear.

Phase 3: The Off-Grid Power Grid—Lighting and Electronics
Your UTV’s battery was designed to start an engine and run some headlights, not to power a portable fridge, a GPS, and three smartphones for 48 hours.
Lighting the Way
Setting up a tent in the dark using only a phone flashlight is a recipe for a miserable first night. You need layered lighting:
- Primary Driving Lights: A LED light bar to identify trail hazards at high speeds.
- Work Lights: Rear-facing LED pods are game-changers for "tailgate cooking" or organizing your gear after the sun goes down.
- Internal Cab Lights: For reading maps or finding that lost charging cable without blinding yourself.
Managing Amperage Draw
In terms of long-term durability, you should consider a dual-battery isolator. This allows your accessories to run off a secondary deep-cycle battery while keeping your cranking battery fresh. If a dual-battery setup is too complex, a high-quality portable power station is an excellent alternative for charging cameras and drones.
Phase 4: Trail Recovery—Being Your Own 911
In the backcountry, AAA isn't coming to save you. Your checklist must include a "Get Home" kit that assumes something will go wrong.
The Mechanical Essentials
UTVs are prone to mechanical stress under the weight of camping gear. You must carry:
-
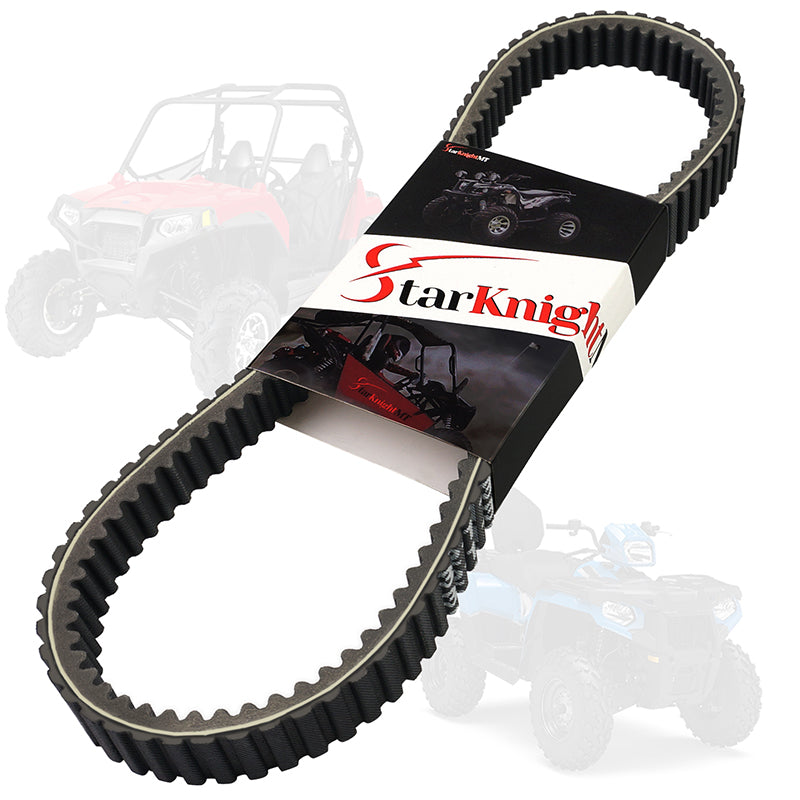
Spare CVT Belt: The most common failure point. Carry the tools to change it—specifically the belt-changing tool and a socket set.
-
Tire Repair Kit: A 12V portable compressor and high-quality tire plugs can fix 90% of trail flats.
-
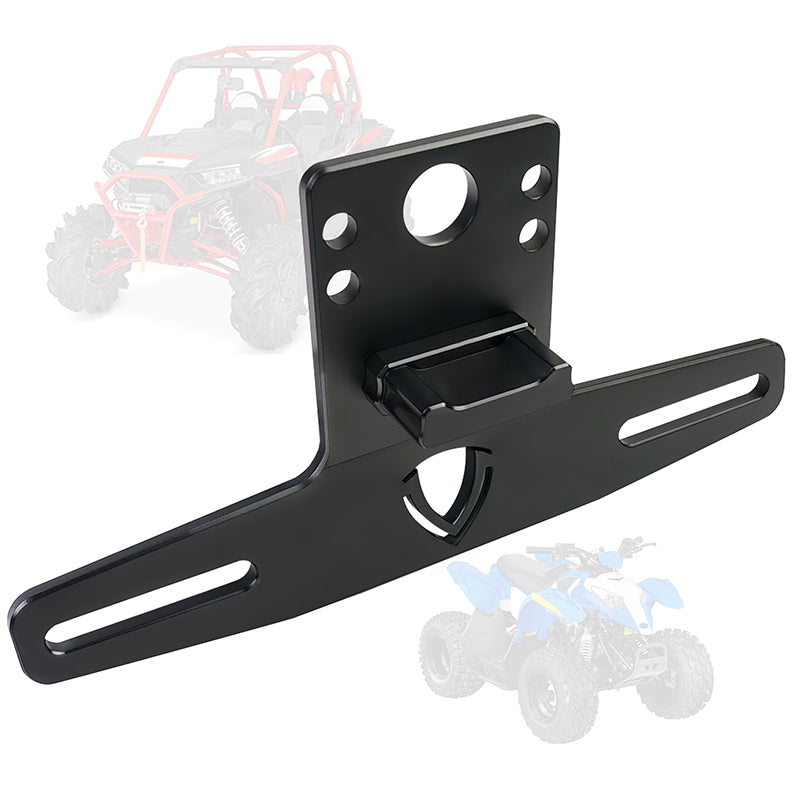
StarknightMT Side Mirrors: While they seem like a comfort feature, they are vital for recovery. When you’re backing out of a narrow, cliff-side trail that has become a dead end, having break-away, high-visibility mirrors is a safety requirement, not a luxury.
Rigging for Success
Never wheel alone without a winch. Ensure your winch is rated for at least 1.5x your loaded vehicle weight. Don't forget the soft shackles and a tree saver strap; protecting the environment is part of the "Leave No Trace" ethos that keeps our trails open.
Phase 5: Camp Life—Shelter, Kitchen, and Hydration
Once the rig is parked, the UTV becomes the foundation of your camp.
The Sleep System
Whether you choose a rooftop tent (RTT) or a ground swag, the goal is insulation. The ground in the backcountry can be a heat-sink, sucking the warmth right out of your body. A high-R-value sleeping pad is often more important than the sleeping bag itself.
The Tailgate Kitchen
UTV overlanding has evolved beyond cold sandwiches. With the stability of a StarknightMT cargo rack, you can secure a small propane stove and a rotomolded cooler.
-
Water Requirement: Plan for a minimum of 1 gallon per person, per day, plus an extra 2 gallons for emergencies.
-
Food Storage: If you’re in bear country, your food must be secured in a bear-proof container strapped down. Never use cheap bungees; the constant vibration of washboard roads will cause them to stretch, potentially launching your cooler into the trail.
Phase 6: Seasonal Adjustments—Summer Heat vs. Ice Fishing
The perfect UTV camping setup changes with the calendar.
-
Summer Overlanding: Focus on dust management and hydration. A StarknightMT half-windshield is better here to allow airflow through the cab.
-
Winter/Ice Fishing: If your camping trip involves the hard-water, traction becomes the priority. This is where StarknightMT’s full cab enclosures become essential survival gear. Being able to escape a -20°F wind-chill inside your cab while waiting for the fish to bite is what separates the pros from the amateurs.
The Ultimate Summary Checklist
To make your next departure easier, keep this abbreviated list on your phone:
-
Protection & Visibility
StarknightMT Hard-Coated Windshield
StarknightMT Side Mirrors (for towing and tight trails)
Full or Soft Cab Enclosure (weather dependent)
-
Storage & Organization
StarknightMT Door Bags (for tools/snacks)
StarknightMT Bed Box (dust-proof storage)
Heavy-duty Ratchet Straps (no bungees!)
Center Console or Overhead Bag
-
Recovery & Tools
Spare CVT Belt & Changing Tool
Tire Plug Kit & 12V Compressor
Winch with Soft Shackles
Fire Extinguisher (roll-bar mounted)
-
Power & Camp Gear
LED Light Bar & Rear Pods
Portable Power Station or Dual Battery
Tent/Swag & High-R-Value Sleeping Pad
Stove & 1 Gal Water Per Day
Conclusion:
At the end of the day, UTV camping isn’t about who has the flashiest rig—it’s about getting to those spots where the cell service bar hits zero and staying there comfortably. It’s about the silence of the woods after the engine finally cuts out.
But you can’t enjoy that silence if you’re swearing at a broken CVT belt you forgot a tool for, or realized your sleeping bag is caked in two inches of trail silt. That’s why we do the prep work. When you dial in your setup with solid gear—whether it’s StarknightMT’s dust-proof storage to keep your gear clean or a windshield that actually lets you see the trail at dusk—you’re buying yourself peace of mind.
So, go ahead and double-check those straps, toss an extra gallon of water in the bed, and make sure your StarknightMT mirrors are adjusted. The backcountry is waiting, and with the right checklist in hand, you’re ready to conquer whatever the trail throws your way.
FAQ:
Q: What are the essentials for a UTV camping trip?
A: Beyond your standard tent and sleeping bag, the real essentials are about vehicle readiness and organization. You’ll need a spare CVT belt and tire plug kit for mechanical peace of mind, plus waterproof storage like StarknightMT door bags to keep your gear from being ruined by trail dust. Don't forget a high-output LED light bar for setting up camp after dark and enough fuel and water to cover double your planned mileage—just in case you take the long way back.
Q: What is the most forgotten item when camping?
A: Believe it or not, it’s usually the small stuff that keeps camp running, like a lighter or waterproof matches. Many riders also forget a basic first-aid kit or a portable power bank for their GPS. On the UTV side, the most common "oops" is forgetting a set of ratchet straps; bungees just won't cut it when you’re bouncing over washboards with a loaded cargo bed.
Q: What is the 3-3-3 rule camping?
A: The 3-3-3 rule is a gold standard for safe overlanding and long-distance UTV trips. It means you should try to travel no more than 300 miles a day, arrive at your campsite by 3:00 PM (to avoid fumbling with tent stakes in the dark), and stay at that location for at least 3 days to truly enjoy the wilderness. It’s the perfect pace to prevent driver fatigue and ensure you actually get some fishing or trail riding in between moves.
Read More:
The Ultimate UTV Overlanding Setup: How to Camp Out of Your Side-by-Side


Leave a comment