

An Easy Guide to Breaking in Your Can-Am Drive Belt
A drive belt of a UTV is a crucial component that ensures the seamless transmission of power from the engine to various parts of the UTV. We have written to pierce the veil over the process of breaking in a new drive belt, a critical step that can extend the lifespan of your belt and improve your vehicle's performance.
What Is a Drive Belt
A drive belt, often made from a durable rubber compound and reinforced with materials like Kevlar, is designed to handle high tension and transmit power efficiently. In Can-Am UTVs, it plays a pivotal role in the powertrain system, linking the engine to the transmission and allowing for variable speeds. However, a new drive belt isn't at its peak performance right out of the box; it needs to undergo a break-in period to ensure optimal flexibility, grip, and longevity.
What Does the break-in Mean?
To unlock a drive belt's full potential in terms of flexibility, grip, and overall longevity, it must first undergo a break-in period. This essential process gradually conditions the belt, allowing it to adapt and mold optimally to the transmission system's specifics. Through this break-in phase, the drive belt achieves an enhanced fit and engagement with the pulleys, significantly reducing the risk of premature wear and tear while ensuring peak performance and reliability in power transmission.
When to Break in Your UTV's Drive Belt
Breaking in a drive belt is essential under these specific circumstances:
- After Installation: Immediately following the installation of a new drive belt on your UTV, a break-in period is crucial to prepare the belt for its operational duties.
- Replacement Due to Regular Maintenance: When replacing the drive belt as part of your scheduled vehicle maintenance, even if the old belt hasn't failed, the new belt still requires a break-in.
- After Wear and Tear Replacement:If you're replacing a belt because it's worn out, the new belt needs to be broken in to ensure it can withstand operational stresses better than its predecessor.
- Following Major Component Upgrades:After upgrading significant performance components of your UTV, such as the engine or transmission parts, it's essential to break in the new drive belt. This process ensures that the belt can handle the potentially altered dynamics and enhanced performance of the upgraded system.
- After Long Periods of Inactivity:If your UTV has been sitting idle for an extended period, a break-in period for the drive belt upon restarting regular use is advisable. This helps the belt to re-acclimate to the operational stresses after potentially losing some of its flexibility or experiencing minor degradation while unused.
- Post-Repair or Overhaul:After any significant repair work or overhaul of your UTV's powertrain system that involves removing or adjusting the drive belt, a break-in period for the belt (whether new or reinstalled) helps it adapt to the changes.
- Before Heavy Use:If you're planning to put your UTV through heavy use, such as towing or navigating particularly challenging terrain, breaking in a newly installed belt beforehand can help prevent premature failure.
- Seasonal Replacement:For those who replace their drive belts seasonally as a preemptive measure, each new belt introduced to the system should go through a break-in process to optimize performance and longevity.
How to Break in Your Drive Belt
Super Easy! Just the following 4 easy steps:
1. Start with a Warm-Up
Begin the process with a 15-minute warm-up phase. Simply run your UTV at a moderate and steady speed. This initial step gently elevates the temperature of the belt, making it more flexible and adaptable for the conditioning that follows. Think of it as a light stretch before a workout, preparing the belt for the more intensive steps ahead without shocking it with immediate heavy use.
2. Vary Your Speeds
After the belt is warmed up, it's time to introduce it to a variety of speeds and throttle settings for about 30 minutes. The key here is diversity; do not stick to one speed or maintain a constant RPM. Gradually accelerate, then decelerate, and mix in medium-paced driving. This exposes the belt to a wide spectrum of operational conditions, allowing it to stretch, flex, and conform to the unique dimensions of your UTV's sheaves and pulleys. This variability in speed and power ensures that every part of the belt gets evenly conditioned.
3. Avoid High Loads
During this initial break-in period, it's crucial to avoid putting too much strain on the belt. This means holding off on towing heavy loads, climbing steep inclines at full throttle, or any high-speed antics that could generate excessive heat or stress on the belt. High loads can cause the belt to wear unevenly or even damage it before it's fully conditioned. Think of this stage as keeping your exercise routine moderate when you're just starting to get fit; pushing too hard too early can lead to injury.
4. Cool Down
Concluding your break-in session with a cool-down phase is just as important as the warm-up. Spend the last few minutes of your ride at a low speed, allowing the belt to gradually adjust back to a resting temperature and state. This cooling down period solidifies the conditioning process, helping the belt retain the flexibility and adjustments it has gained during the break-in. Like after a good workout, a cool-down helps prevent stiffness and ensures everything settles properly.
Get more info about can-am: How to Install Windshield on Your Can-Am X3
Things to Avoid When Breaking in Your Drive Belt
When you're in the process of breaking in your drive belt, it's just as important to know what not to do:
Avoid Sudden Accelerations
Rapid and sharp increases in speed can be particularly harmful during the break-in period. These sudden accelerations generate excessive heat and friction, which can prematurely wear down the belt's surface or create weak spots. Imagine trying to sprint without a proper warm-up; just as it's harmful to your muscles, it's damaging to your belt.
Do Not Maintain Constant RPMs for Long Periods
It might seem counterintuitive, but maintaining a steady speed and constant RPM for extended durations isn't beneficial during the break-in. This practice can lead to uneven wear patterns on the belt, as certain sections may get overused while others barely break in. The result? A shortened lifespan and a decrease in overall performance. Think of it as walking in the same pattern every day, wearing down a specific path while leaving the rest untouched.
Steer Clear of Extreme Conditions
In the initial stages after installing your new belt, avoid challenging it with extreme conditions, such as navigating through deep mud, sand, or engaging in aggressive hill climbing. These scenarios can exert too much stress and strain on a belt that hasn't fully adapted to the rigors of regular use. Just like you wouldn't expose a new plant to harsh weather immediately after planting, exposing a new belt to severe conditions can hinder its ability to perform well in the long run.
When to Replace Your Drive Belt
Here are the key indicators that your drive belt needs replacing:
Visible Wear and Tear
Regular inspections of your drive belt can reveal early signs of deterioration. Look out for any fraying edges, visible cracks, or other physical damages on the belt's surface. These imperfections are clear indicators that the belt's integrity has been compromised, reducing its effectiveness and potentially endangering your vehicle's functionality.
Slippage
A common symptom of a worn drive belt is slippage. You might notice that your UTV is not responding as promptly as it used to, struggling to accelerate or maintain its usual speed. This issue arises when the belt can no longer grip the pulleys with the same efficiency, leading to a loss in power transmission from the engine to the drivetrain.
Unusual Noises
Pay attention to any new or unusual sounds coming from your UTV during operation, such as squeaking or chirping noises. These auditory cues can signal a belt that's either worn out or has loosened over time. A belt in good condition should operate relatively quietly, so any persistent noise is a sign that it's time for a closer inspection.
Where to Buy Your Drive Belt
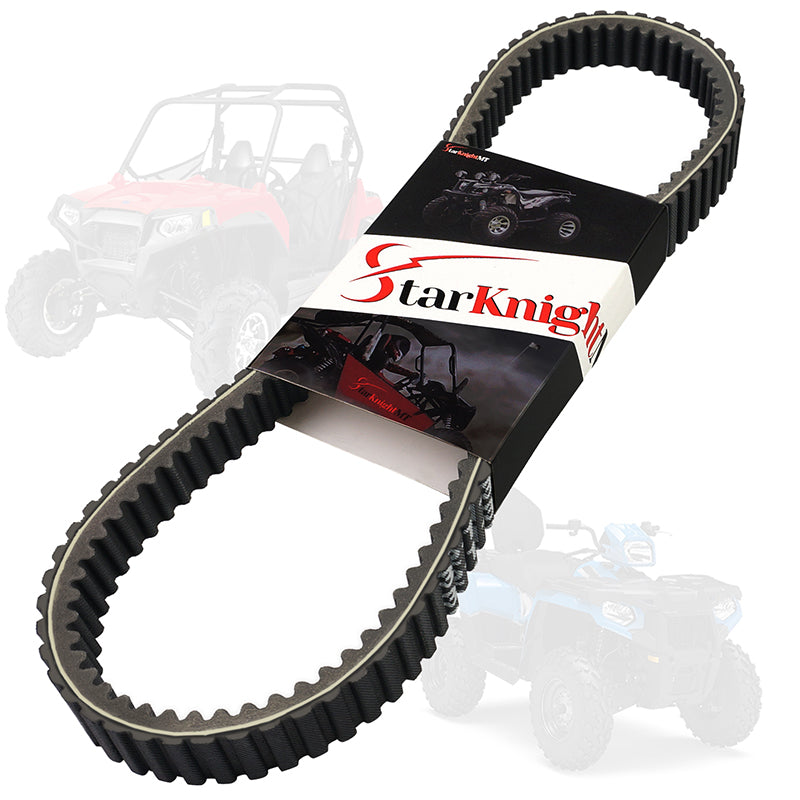
StarknightMT excels in its superior drive belt options tailored for Can-Am models. Offering enhanced durability, efficiency, and power transmission capabilities, StarknightMT products are designed to meet the rigorous demands of your UTV.
For models like the Can-Am Commander (or Can-Am Outlander and Maverick), StarknightMT offers a drive belt that boasts no slippage, strong heat dissipation, and remarkable durability. This belt is reinforced with nylon fiber to increase friction and improve transmission efficiency, making it less prone to slipping. Its construction includes high-strength chloroprene rubber for resistance against grease, heat, and aging, ensuring a safe and comfortable driving experience. The belt's four-layer design, including wear-resistant nylon fabric and aramid string cord, enhances its durability and dependability, making it an ideal choice for replacing OEM part numbers 422280360, 422280364, 715000302, 715900030, and 715900212.
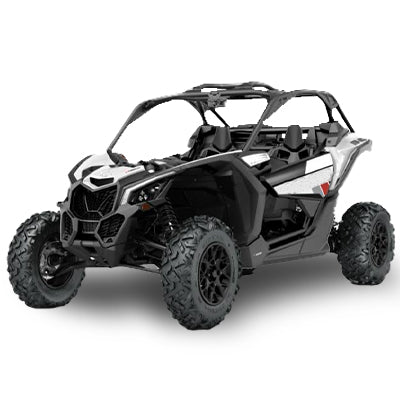
For Can-Am Maverick X3 and MAX models, StarknightMT's drive belt is the go-to option for those seeking no slippage, strong heat dissipation, and unmatched durability. Like its counterpart, this belt features a nylon fiber composition to increase friction and enhance transmission efficiency, along with a four-layer design for noise reduction and increased durability. It's specifically engineered to replace OEM numbers 422280651, 422280652, and others, providing a perfect fit for a wide range of Maverick X3 models from 2017 to 2022.
Choosing StarknightMT for your drive belt replacement means investing in the longevity and efficiency of your Can-Am UTV. With their focus on quality, durability, and performance, StarknightMT drive belts are a wise choice for ensuring your vehicle remains in top condition.


Leave a comment